Showing posts with label tutorial. Show all posts

How to make Daffodil using Stampin'Up! Blossom Punch!


Few days ago I found that I can do more types of flowers with just a punch, Stampin'Up! Blossom Punch!

As I have wrote on my facebook page, today I'm sharing with you another flower tutorial.

To be in toch with my new projects using Stampin'Up! goodies please like my page on facebook.


~ Daffodil ~


To create a daffodil you will need :

  • Stampin'Up! Blossom Punch
  • Cardstock: Old Olive, Pumpkin Pie, Daffodil Delight 
  • Tombow Multi-Purpose Adhesive
  • Scissors 
  • Embossing Stylus 
  • Embossing mat


You can add an extra effect sponging with inks. 
   
I hope you like this daffodil. 
Thanks for stopping by!


How to make paper Iris Flower using Stampin'Up! Blossom Punch

Hello everyone! I hope you had a good weekend and you are ready to start a new week!
Last week I have shared with you how to make paper rose with one single punch. Today I have another tutorial, another flower, same punch, Stampin'Up! Blossom Punch!
This time is about how to make paper Iris Flower!

Supplies I have used:

-  Stampin'Up! Blossom Punch
-  Cardstock: Perfect Plum and Crushed Curry
-  Multi Liquid Glue
-  Scissors
-  Basic Rhinestones Jewel Accents
-  Embossing stylus ( I used sugar paste stylus)
-  Embossing mat ( I used a piece of craft foam)


If you like this tutorial, feel free to share with your friends!
Thanks for stopping by!

How to make paper rose using Stampin'Up! Blossom Punch


Hello my dear blog readers. 
How doesn't love roses? They are not my favorite flowers but I like the like many other flower. Today I'm sharing with you one of my latest project. It's made with Stampin'Up!Bossom punch. Yes! :) Blossom punch and  I am so excited about it because I thought there's nothing to do more then I did till now with this punch but I was wrong. 
Following this tutorial you can make how many roses you want, even a dozen. 

The Stampin'Up! supplies for this project are very minimal. 

Cardstock: Melon Mambo,Old Olive
Glue: Tombow Multi-Purpose Adhesive
Punch: Blossom
Scissors ( not Stampin'Up!)


Here is the tutorial.


Thank you so much for stopping by!
I hope this tutorial will inspire you!


How to make rainbow butterfly


Hello there!
I love sunny days and spring time. I'm so happy when the rainbows are cover the sky. Here in England I saw many rainbows, I think there are many then in my country.
Because this week is holiday and the spring is coming, I want to share with you how I made rainbow butterfly.


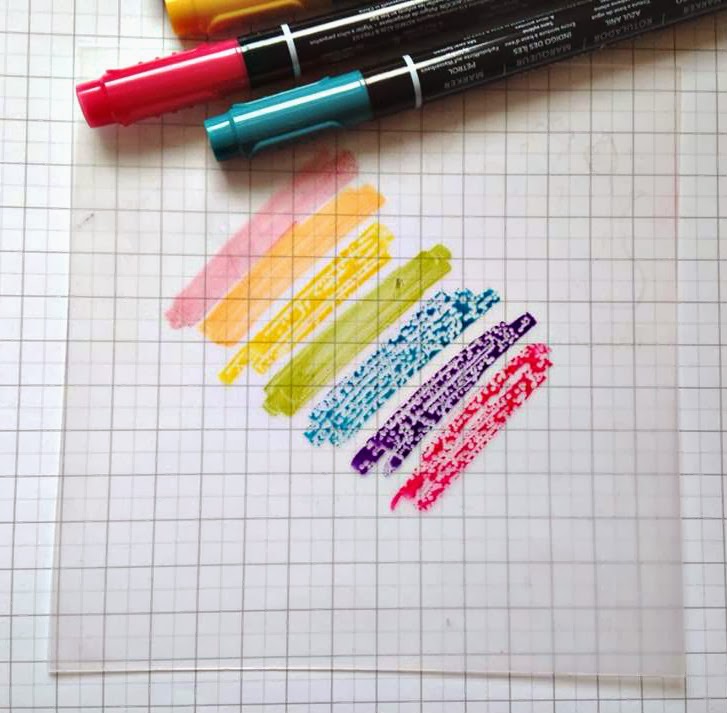
First of all I prepared some Stampin' Write Markers which have two ends. One for writing and one for painting. I coloured on the plastic sheet from Stamp a ma jig. 


Then I sprayed with water on the colours to combine together.
 
....something like this....


I know that the best paper for this technique is Watercolor Paper, but in this tutorial I used a simple Whisper White paper scrap.


 I used Heat Tool to speed up drying time.

Now it's time to make butterflies. I made these butterflies with Beautiful Wings Embosslits. 


This is the result. 

Thanks so much for followed my first tutorial I hope you found some inspiration for you next projects and don't forget to check out our Stampin'Up! Catalogues and offers from the right side of my blog. I can't wait to see which are you favorite products.


linkwithin

Related Posts Plugin for WordPress, Blogger...